Checkerboard
I am so excited to share these pictures of the checkerboard border!
I am so excited to share these pictures of the checkerboard border!
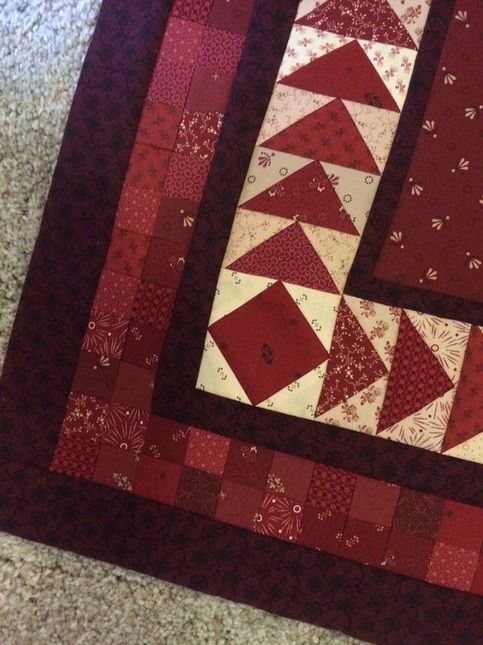
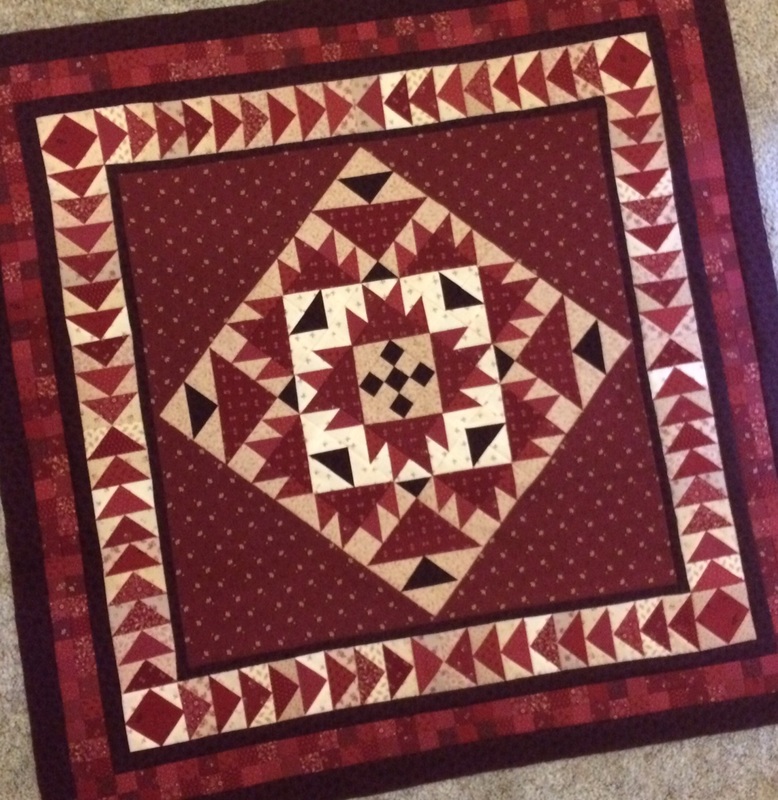
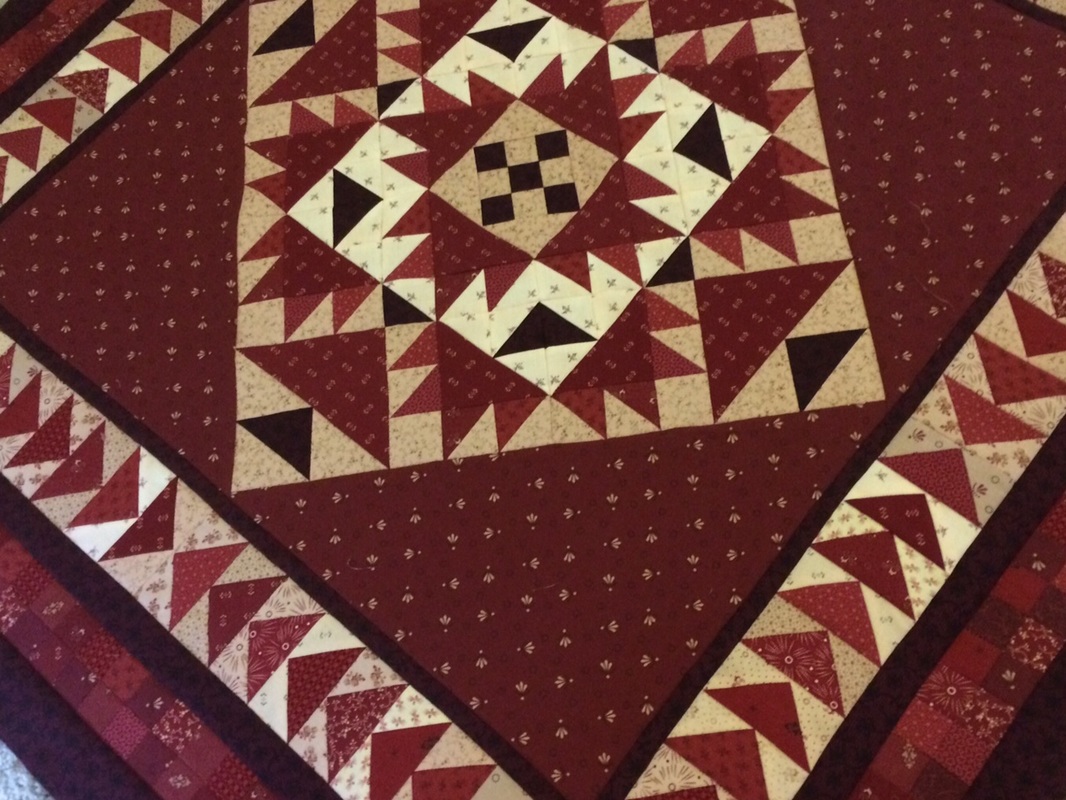
I love. love. checkerboard.
|
|
|
Checkerboard I am so excited to share these pictures of the checkerboard border! I love. love. checkerboard.
My friend Marilyn was right. When I posted "Off the Shelf, On the Shelf," I said that my Go Four It quilt, Rainbow Rows, was no longer looking good to me; she commented, "Oh, good grief. It looks like summer to me." Hmm. What I think she meant by "Oh, good grief," was... "Really? Why are you worried? What are you thinking?!" Of course. She knew. The quilt was going to be just fine. I always worry a little about scrappy quilts because as you well know there are times when they look horrible. Yet thanks to Marilyn, this quilt project came back off the shelf. And it does look like summer! And it does look great! I am pleased now with the entire scrappiness, the scrappy setting triangles, and the scrappy border.  Thanks, Marilyn! I needed that encouragement. You also inspired the name of this quilt... Summer 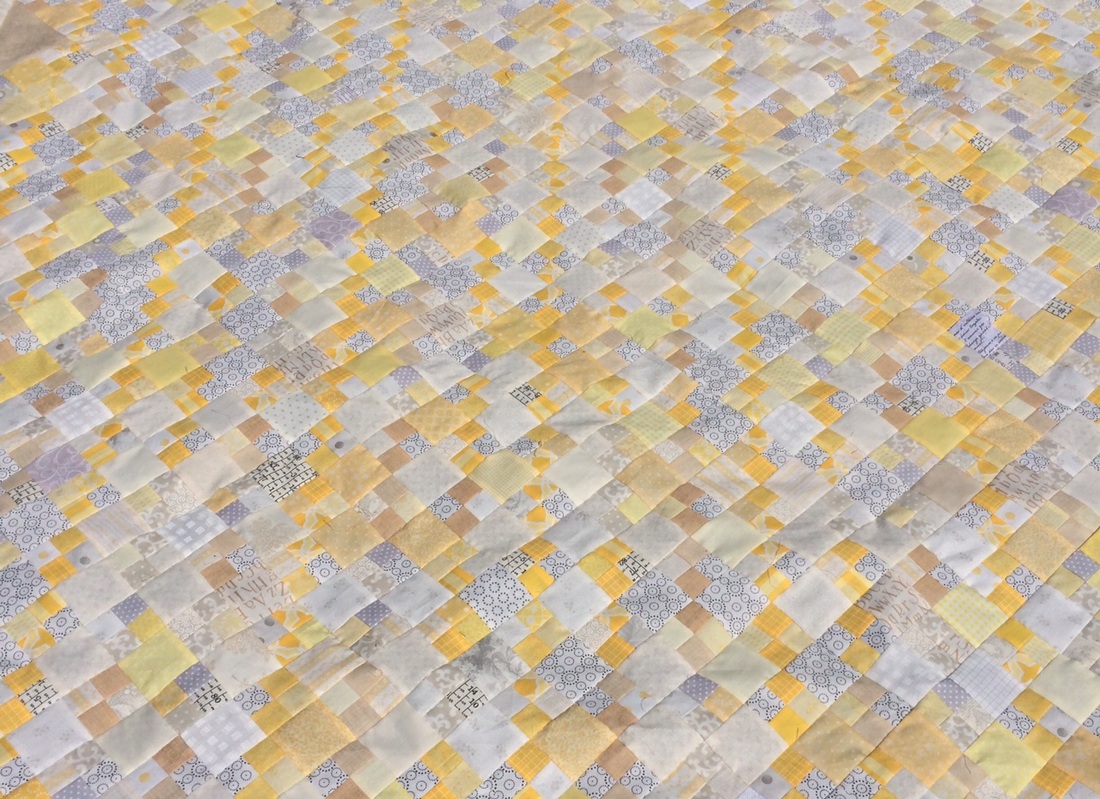 89" x 89"
approximately 3679 pieces 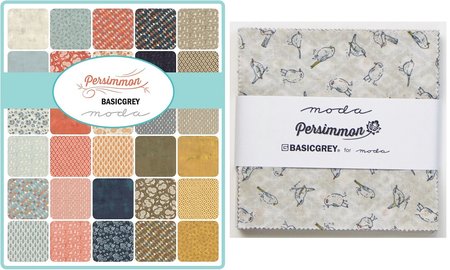 Once while in a quilt shop I bought this Persimmon charm pack, because I loved the colors and the fabrics. The shop only had one left, or I would have purchased more, because really... what can you do with just one charm pack? I saved it until I could come up with the right project...and... I found it! I saw this genius tutorial on The Missouri Star Quilt Company website on how to make Cathedral Windows with a charm pack. Seriously. Genius. I am going to show you pictures of how I did it, but more than likely you will need to watch the tutorial for it to totally make sense. Look it up. Did I mention that it was genius?! I decided that instead of the mat that was featured in the tutorial, I would make a pillow. I started by laying out 16 squares... 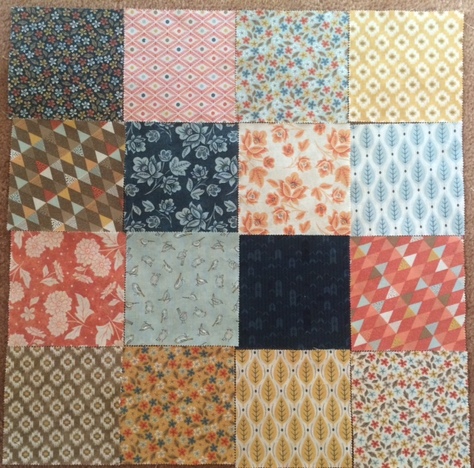 I took 16 more squares, ironed them in half diagonally, and arranged them on top like this...  Then I sewed the folded triangles into the seams. Each one made a pocket, which is shown in this picture with the tape measure. 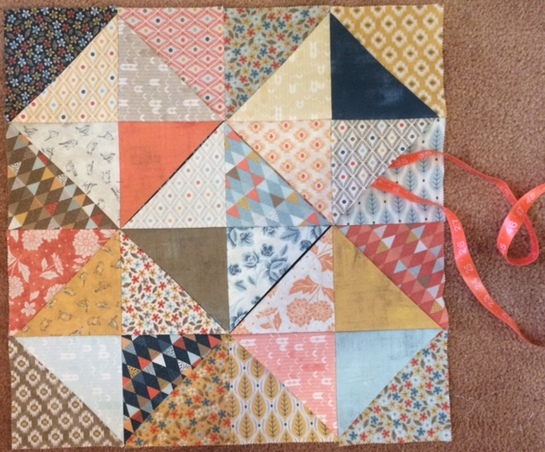 Next I laid out five more squares, centering them in the five diagonal squares. 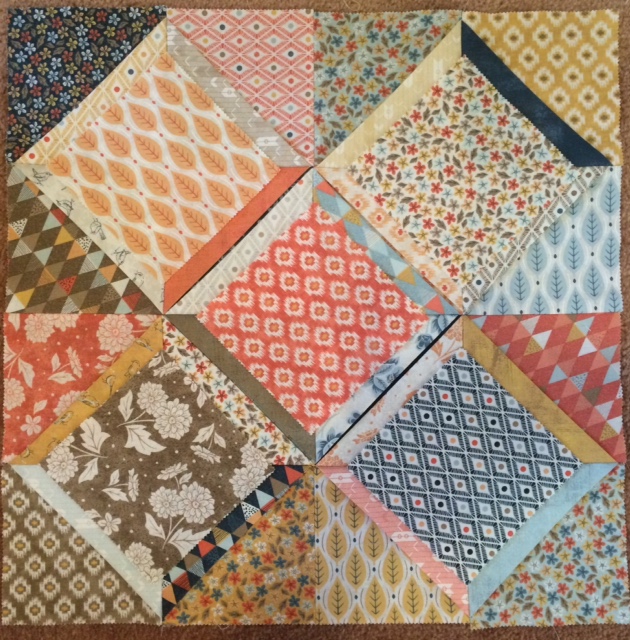 (I know! Don't you love these fabrics?!) Because each of the folded edges of the triangles is on the bias, it works to overlap them over the raw edges of the top five squares. In this picture you can see how I top-stitched the first square into the first "cathedral window." 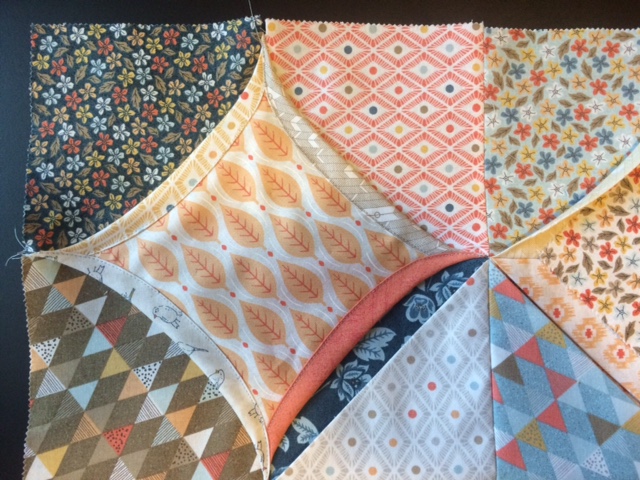 Here are three out of the five cathedral windows complete. 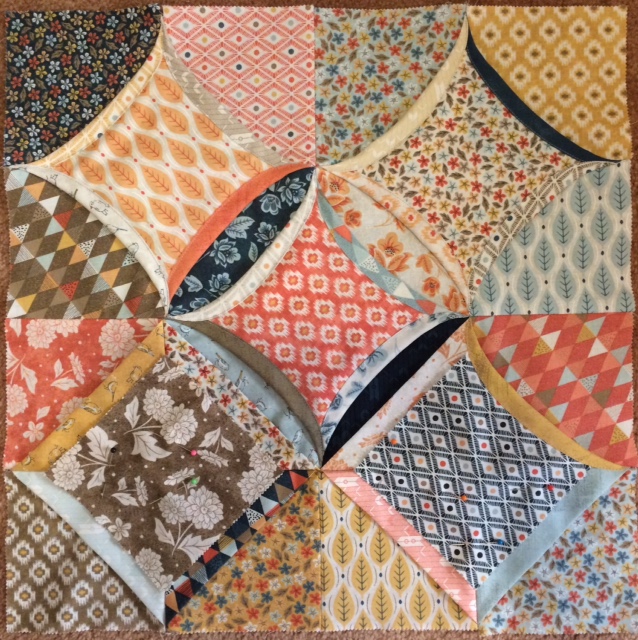 I continued sewing until all five windows were finished. Next, I strayed from the tutorial. There was so much bulk in the back where all the corners met, that I carefully trimmed it away, leaving the center of the window. Since I decided this would be a pillow, those extra lumps would have been a problem. 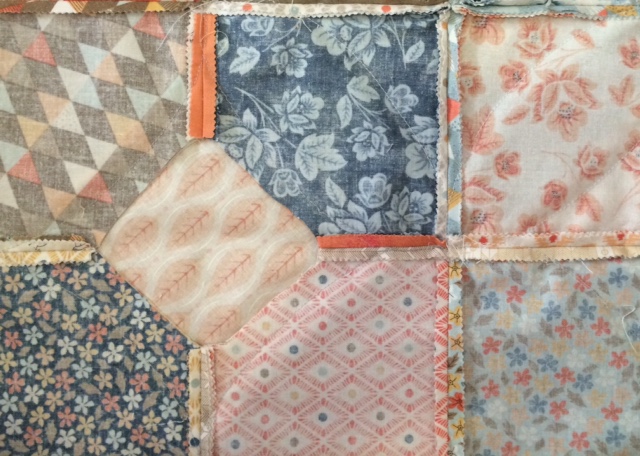 I also waited until I was this far along before I added the batting. It simply worked better on my machine that way. I added batting, sewed the front to the back, added four orange/red buttons I found in my button box for fun, stuck it into a pillow form... and it's a Cathedral Window pillow! 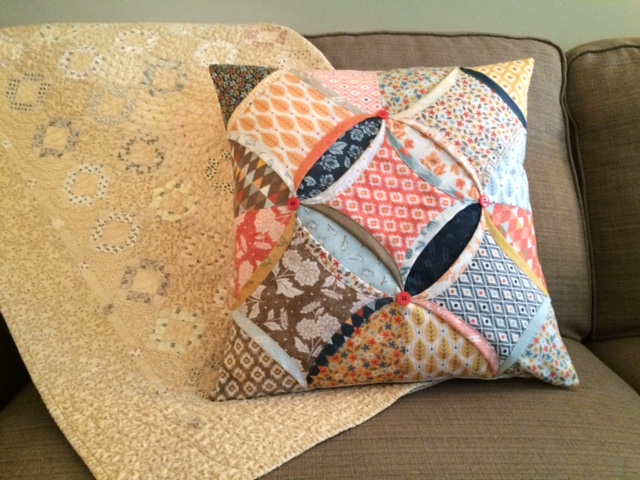 18" x 18"
37 squares |
I found I could say things with colors and shapes Archives
April 2024
Categories |
 RSS Feed
